High resolution rendering with Processing, Part 1
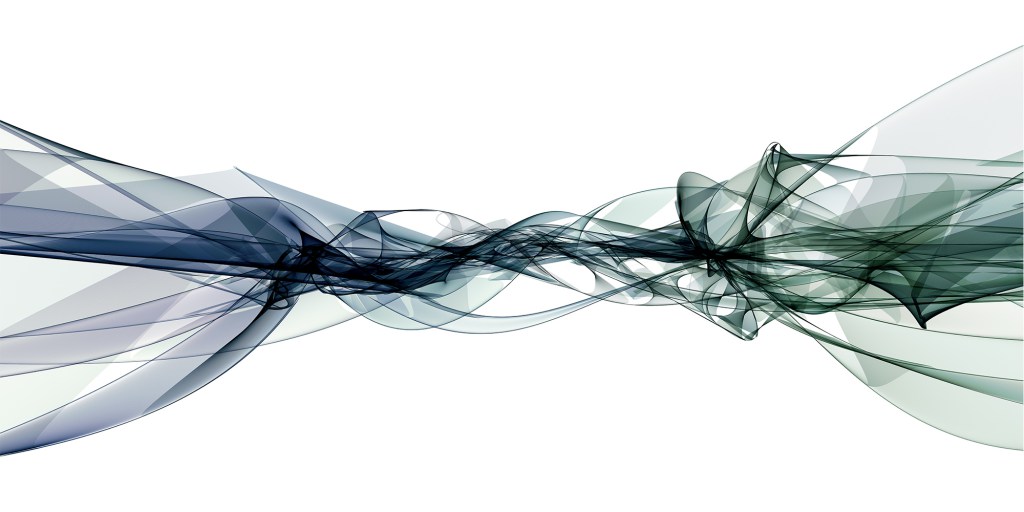
So you've started experimenting with Processing (What is Processing?) and created your first piece of art that you would like to show off (doesn't take very long with Processing, now does it). So you take your 1200 by 1200 px image and print it in a solid high resolution and realize that your 4 by 4 inch print does not exactly fall into the “large format” category. What to do?
Well, the first attempt would be to increase the size of the render, with size(4800, 4800) but now you can't see what you're producing anymore (unless your screen setup is awesome!).
Worry not, I'll show you how to render a really high resolution image and still be able to see what is going on.
Introducing the PGraphics
To be able to both render high resolution images and be able to see it all in a lower resolution while working with it, we need to use a PGraphics instance. In truth you're already using one by default, which is automatically created for your sketch.
So when you're calling stroke(50) and line(10, 10, 20, 20) to draw something to screen, you're using methods inherited from PGraphics. Now we'll create a new instance to render to instead.
Creating an off screen buffer
To get starting, we'll create an off screen buffer to render to. This can be any size we want, not limited to our screen size. Since the goal is to make it printable, I've created some variables to easily set the desired output size.
PGraphics render;

int printWidth = 10;
int printHeight = 10;
int printDpi = 300;

int renderWidth = printWidth * printDpi;
int renderHeight = printHeight * printDpi;

void setup() {
  size(1024, 1024);

  render = createGraphics(renderWidth, renderHeight);
}
The essential part here is createGraphics(renderWidth, renderHeight) that create a new render target for us in the desired target size.
Now we have a render target that is 10 by 10 inches when printed in 300 DPI, which is a good quality print resolution. And we can adjust the desired output size by simply editing the variables.
Slight warning: Increasing the output size a lot consumes quite a lot of RAM, so try increasing a bit by bit to see how big render target your computer can handle.
Drawing stuff
The next step is to change how we draw stuff. Instead of calling line() and other drawing methods directly, we need to call them on the new render target. And to do that we must also remember to call beginDraw() before drawing, and endDraw() when done drawing.
// In draw() method
render.beginDraw();
render.background(255);
render.stroke(0);
render.strokeWeight(10);
render.translate(renderWidth/2, renderHeight/2);
render.ellipse(0, 0, 500, 500);
render.endDraw();
Now this is all well, but nothing appears on screen until we draw the new render target to screen.
image(render, 0, 0, 1024, 1024);
And that's really the gist of it.
Making it usable
To make it more flexible, we can improve the code with some maths so we can handle all kinds of sizes without worry.
int outWidth, outHeight;

float ratio = renderWidth / (float)renderHeight;
if (ratio > 1) {
  outWidth = 1024;
  outHeight = (int)(outWidth / ratio);
} else {
  outHeight = 1024;
  outWidth = (int)(outHeight * ratio);
}

background(192);
image(render,
  (1024 - outWidth) / 2, (1024 - outHeight) / 2,
  outWidth, outHeight);
This determines the aspect ratio of the render target, and resizes it to be nicely centred and fitted on screen.
Saving
To save the high resolution image we cannot use saveFrame() anymore. Instead we call save() on our render target.
render.save("hires.png");
Since the type of images I create are the result of rendering additive to the same target over time, I like to map this to a keyboard shortcut, like this:
void keyPressed() {
  switch (key) {
    case 's':
      String dateString = String.format("%d-%02d-%02d %02d.%02d.%02d",
        year(), month(), day(), hour(), minute(), second());
      saveFrame(dateString + ".scr.png");
      render.save(dateString + ".png");
      break;
  }
}
That way I can produce the output the moment when I'm satisfied by simply pressing the s-key. Note that I also name it with the current time, and use saveFrame() to save a low resolution version of the render as well. This is optional, of course, but I'll show you in a later post exactly why I do this.
So for now, here is the whole sketch with the above code.
Next post I'll show you how to draft in low res, but still render in high res. But now, go make some high resolution printable joy!