Installing privacy respecting Ackee Analytics with Nginx and Let's Encrypt on CentOS 8
I've lived without analytics for my random web projects for some time, but the sense that I have no way of knowing if anyone is visiting any of my sites can be discouraging. On the other hand, I'm not interested in feeding more data to the big Google machine, nor installing any privacy invading or slow loading tracker scripts.
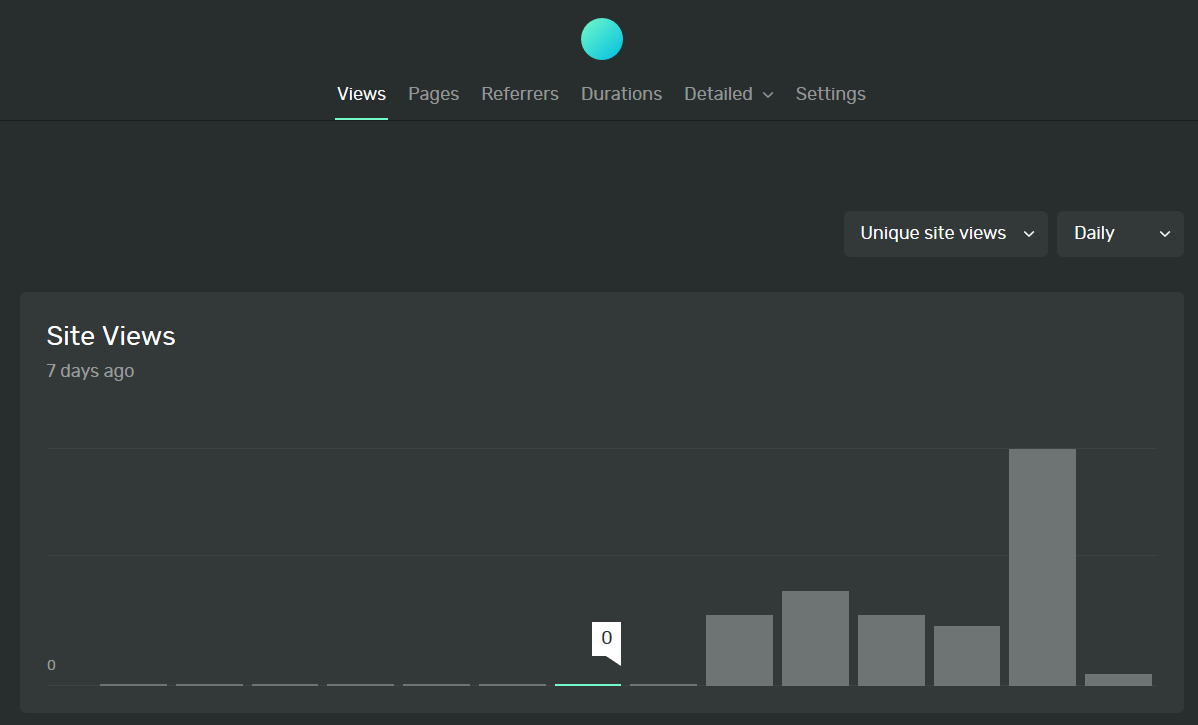
I came across the awesome self hosted list the other day and in the analytics section I came across Ackee. It's a privacy first solution that provides the basic analytics most of us needs without cookies or collecting any other personal information. So I decided to give it a go.
This is the no-container version, as I wanted to host this together with some other properties on the same server. If you do not want to do this manually, just use a docker container.
Hosting on DigitalOcean
First we need some place to host Ackee. I have good experience with Digital Ocean, so I decided to spin up a droplet there. I chose the standard 2 vCPUs 2 GB size for $15/month. It should be more than enough for my low traffic sites for now.
I also tend to choose CentOS since it's lighter than Ubuntu and RHOS compatible. It's just a matter of personal preference really, but if you want to follow the instructions here, you should choose the same.
I also use ssh keys to connect, a lot easier than typing passwords.
Note: If you want to spin up a droplet of your own, I would appreciate it if you signed up via my Digital Ocean referral link. This gives you $100 to spend, while I get $25 in credits if you spend at least $25.
Anyway, once it is ready, ssh into your Droplet:
$ ssh root@<droplet IP>
Some prerequisites
We need some tools installed before we begin.
$ yum install git
$ yum install vim
(or use your favourite editor that is easier to exit, like nano)
We also need a domain or sub domain pointing at our server, so be sure to set up that before continuing. I suggest something like stats.example.com.
Installing Nginx
First we install the package.
$ yum install nginx
Then we start and enable Nginx in systemd. Enabling makes it start automatically after reboot.
$ systemctl start nginx
$ systemctl enable nginx
You can now navigate to http://<droplet IP>, and you should see the default Nginx page.
Installing Ackee prerequisites
Ackee has a few prerequisites that need to be installed.
First NodeJS and npm:
$ yum install nodejs
Then MongoDB. We need to add the yum repo first:
$ yum install vim
$ vim /etc/yum.repos.d/mongodb-org-4.2.repo
Insert the following content:
[mongodb-org-4.2]
name=MongoDB Repository
baseurl=https://repo.mongodb.org/yum/redhat/$releasever/mongodb-org/4.2/x86_64/
gpgcheck=1
enabled=1
gpgkey=https://www.mongodb.org/static/pgp/server-4.2.asc
Save and exit, then we can install MongoDB.
$ yum install mongodb
To give MongoDB the appropriate memory usage permissions, we need to compile a policy.
$ yum install -y checkpolicy
$ cd ~
$ cat > mongodb_cgroup_memory.te <<EOF
module mongodb_cgroup_memory 1.0;
require {
    type cgroup_t;
    type mongod_t;
    class dir search;
    class file { getattr open read };
}
#============= mongod_t ==============
allow mongod_t cgroup_t:dir search;
allow mongod_t cgroup_t:file { getattr open read };
EOF
$ checkmodule -M -m -o mongodb_cgroup_memory.mod mongodb_cgroup_memory.te
$ semodule_package -o mongodb_cgroup_memory.pp -m mongodb_cgroup_memory.mod
$ semodule -i mongodb_cgroup_memory.pp
Now we should be ready to start MongoDB, and enable it to restart automatically after boot:
$ systemctl start mongod
$ systemctl enable mongod
Installing Ackee
Now we're ready to install Ackee itself.
Navigate to an appropriate folder where you want to place the web site, e.g. /var/www.
Then we check out a release of Ackee via git. Check out Ackee release page for the latest. At the time of writing, it is v1.6.1.
$ cd /var/www
$ git clone git@github.com:electerious/Ackee.git --single-branch --branch v1.6.1 --depth 1
$ cd Ackee
To configure Ackee, create an .env file in Ackee root directory with the following variables:
ACKEE_MONGODB=mongodb://localhost:27017/ackee
ACKEE_USERNAME=<pick a username>
ACKEE_PASSWORD=<pick a password>
The username and password will be used in the online Ackee dashboard to log in, so pick something secure enough.
Running Ackee
Ackee is a node app, so to run it persistently we can use pm2.
$ npm install -g pm2
$ pm2 start src/index.js
Configuring the site in Nginx
Next we need to make Ackee available using Nginx as a reverse proxy.
Create a config file at /etc/nginx/conf.d/stats.example.com.conf with the following contents:
server {
    listen 80;
    server_name stats.example.com;

    location / {
        add_header Access-Control-Allow-Origin "*" always;
        add_header Access-Control-Allow-Methods "GET, POST, PATCH, OPTIONS" always;
        add_header Access-Control-Allow-Headers "Content-Type" always;
        add_header Strict-Transport-Security "max-age=31536000" always;
        add_header X-Frame-Options deny;
        proxy_pass http://127.0.0.1:3000;
        proxy_next_upstream error timeout invalid_header http_500 http_502 http_503 http_504;
        proxy_redirect off;
        proxy_buffering off;
        proxy_set_header X-Real-IP $remote_addr;
        proxy_set_header X-Forwarded-For $proxy_add_x_forwarded_for;
        proxy_set_header Host $host;
    }
}
Restart Nginx:
$ systemctl restart nginx
Now Ackee should be ready and available on http://stats.example.com.
Configuring SSL via Let's Encrypt
EFF provides the convenience certbot tool to configure most common setups more or less automatically. So let's download that.
$ cd ~
$ curl -O https://dl.eff.org/certbot-auto
$ mv certbot-auto /usr/local/bin/certbot
Next, run certbot in Nginx mode.
$ certbot --nginx
Follow the instructions to add SSL certificate to your domain, and make it redirect automatically to HTTPS.
That's it! Now check it out via https://stats.example.com.
Enabling firewall
Last server step is to secure your droplet so that only the appropriate ports are open and accessible to the public internet.
Sign in to Digital Ocean and navigate to Networking > Firewalls. Hit Create Firewall. Name it "Web", and add two rules in addition to the default SSH rule: HTTP and HTTPS.
Apply it to your droplet directly, and hit Create Firewall.
Now only web traffic over port 80 and 443, in addition to your ssh login should be publicly accessible.
Using Ackee tracker
The Ackee server serves a compatible Ackee tracker script. This is the easiest way to use it. Just log in to your Ackee server, navigate to Settings and add a new domain. This will generate a UUID for that domain. Click the domain in the list and you will see the script tag you need to use on your site to enable tracking.
It will look something like this:
<script
    async src="https://stats.example.com/tracker.js"
    data-ackee-server="https://stats.example.com"
    data-ackee-domain-id="23d5c8a3-ef12-439f-bca6-934dc9db1180">
</script>
Add this to your site in an appropriate HTML file or template file, and you're done!